




How to open a childcare centre: the fit-out timeline, from floor plan to first day
How to open a childcare centre in Australia: the main stages and a fit-out timeline worked back from opening day, from floor plan to installed rooms.
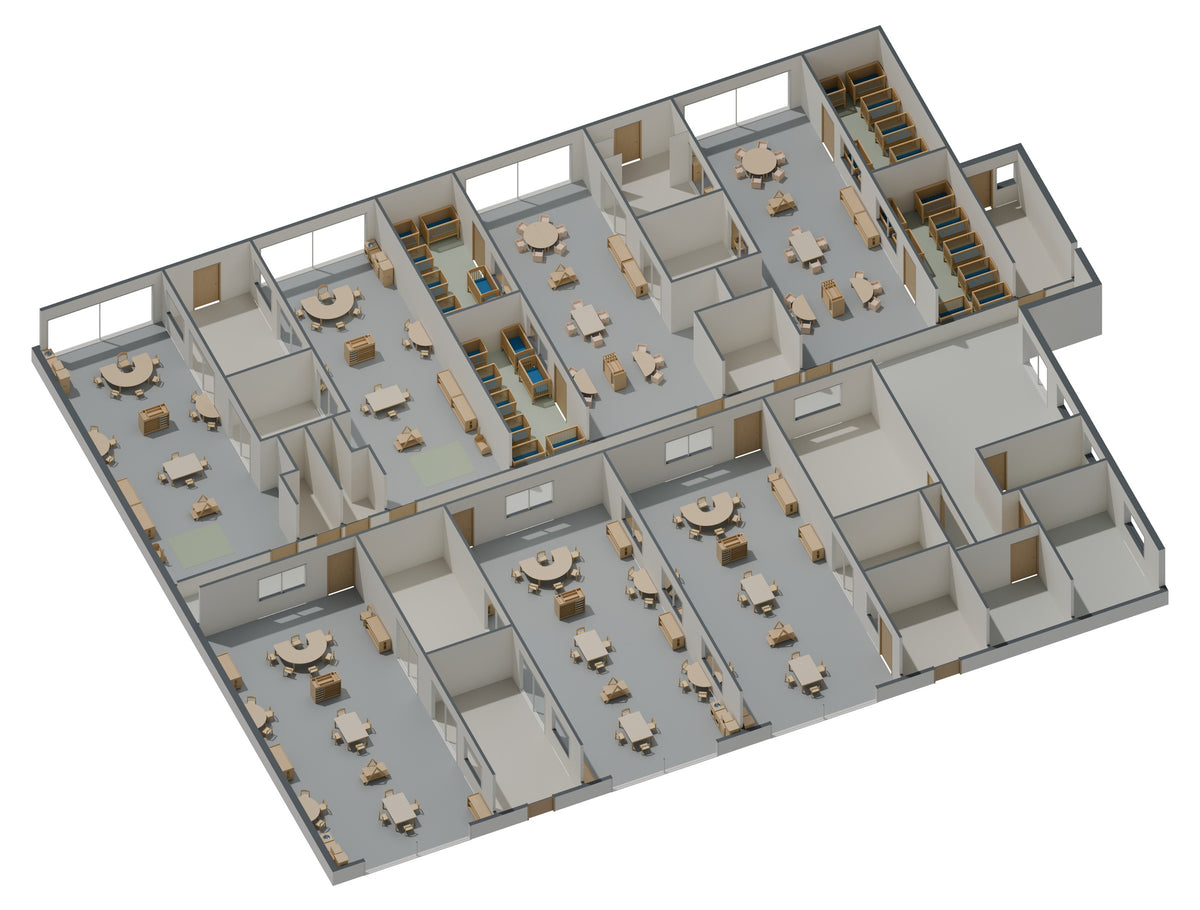
The short answer: To open a childcare centre you need provider and service approval from your state or territory regulatory authority, a compliant building, staff and enrolments. Plan the fit-out by working back from opening day: rooms installed and checked at least two weeks before opening, furniture ordered around four to six weeks before that, and layouts designed and signed off before you order.
Key Points
- Treat building handover and opening day as your two fixed dates, and plan the fit-out between them.
- Furniture usually takes 4 to 6 weeks from confirmed order to installed rooms, so decide layouts early.
- Have rooms set up well before opening so you can do safety checks, staff orientation and family visits.
- Design every room from the age group, the number of children and the indoor space rules (3.25 m² per child).
- Late changes to floor plans and slow decisions cause most fit-out delays.
- Do not forget shared spaces, outdoor furniture and educational resources in the plan.
What are the main stages of opening a childcare centre?
Opening a long day care or early learning centre in Australia moves through a series of overlapping stages. The fit-out is one of the last, but it depends on decisions you make at the very start.
- Business planning and site: local demand, the age groups and number of places you plan to offer, and a site or building that can work.
- Provider approval: the approved provider is the person or organisation that operates the service. This approval comes from the regulatory authority in your state or territory.
- Design and building approvals: architectural plans, local council and building approvals, and a design that meets the National Regulations for space, light, ventilation, nappy change and supervision.
- Construction or refurbishment: the building works, finished to the point where rooms can be furnished.
- Fit-out: furniture, storage, soft furnishings, outdoor furniture and educational resources, delivered and set up room by room.
- Service approval: approval for the specific service and premises, again from your regulatory authority.
- Staffing: a nominated supervisor and educators who meet qualification and ratio requirements, plus induction.
- Enrolments and orientation: family tours, orientation visits and settling-in plans.
The approval rules and timeframes are set and managed by each state and territory regulatory authority, and ACECQA (acecqa.gov.au) links to all of them. Check the current requirements with your regulator early. This guide focuses on the part we know best: getting the rooms ready.
When should you start planning the fit-out?
Start planning the fit-out as soon as your floor plan is close to final, well before construction finishes. Room layouts affect power points, plumbing, storage nooks and window placement, so the earlier furniture thinking joins the design, the fewer surprises later.
There are two dates the whole fit-out hangs on:
- Building handover: the day the building is finished, cleaned and ready for furniture to come in. Furniture should not arrive into a live building site.
- Opening day: the first day children attend. Rooms should be ready well before this.
If those two dates are close together, the fit-out has to be fully planned and ordered while construction is still under way. Building programs often slip, so build some buffer into both ends.
What does a fit-out timeline look like, working back from opening day?
This is a practical planning template, not a regulatory requirement. It assumes furniture takes 4 to 6 weeks from confirmed order to installed rooms, which is our usual timeframe. Adjust it to your building program and your regulator's process.
| When | What happens | Who leads |
|---|---|---|
| Opening day | Children start. Rooms settled, routines running. | Centre director and educators |
| 1 week before | Staff orientation in the finished rooms; family orientation visits; final clean | Director, educators |
| 2 weeks before | Rooms fully set up; resources unpacked onto shelves; safety walk-through; photos for enrolment pages | Director, educational leader |
| 2 to 3 weeks before | Furniture delivered and installed room by room; packaging removed | Furniture supplier's team, site contact |
| Around 8 to 9 weeks before | Order confirmed: layouts, quantities, sizes and finishes signed off | Owner or approved provider |
| Around 9 to 11 weeks before | 3D room designs reviewed with your educational leader; revisions made | Owner, educational leader, supplier |
| Around 10 to 12 weeks before | Floor plan sent; first quote and 3D design back | Owner or architect |
| Earlier still | Room ages and numbers decided; program philosophy agreed; building design finalised | Owner, architect, educational leader |

What should you have ready before you send a floor plan?
You will get a faster, more accurate quote and design if you send a dimensioned floor plan with a few key decisions already made. You do not need everything finalised, but these details help a lot.
- A floor plan with dimensions, showing doors, windows, built-in joinery, sinks and power points.
- Room by room: the age group and the number of children each room is planned for.
- Shared spaces: entry, sleep rooms, nappy change, dining, staff room, office and storerooms.
- Outdoor areas: size and what you want to happen there.
- Your philosophy: for example a Reggio Emilia, Montessori or nature-based approach, or a mix.
- Finishes and colours: flooring, wall colours and the overall look you want.
- Your key dates: building handover and opening day.
We return a quote and a 3D design of your rooms within 24 hours of receiving a floor plan, so you can review layouts with your team quickly. See how it works on our design and 3D page.
How do you plan each room?
Plan each room from the age group outwards: the children's size, how they play, the routines the room must support, and the space rules. Then choose furniture to fit those decisions.
| Room | Typical ages | Table and chair sizes | Planning priorities |
|---|---|---|---|
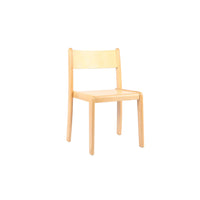
| Babies | 0–2 | C01 (seat 13 cm, table 30 cm) and C02 (17/36) | Protected floor play, stable pull-up points, sleep and nappy change in view |
| Toddlers | 2–3 | C0 (21/40) | Sturdy furniture, self-help storage, home corner, active and quiet zones |
| Preschool and kinder | 3–5 | C1 (26/46) and C2 (31/53) | Small group tables, literacy and numeracy materials, project space |
| Staff and office | Adults | C6 (46/76) | Planning space, lockable storage |
- Check each room still has at least 3.25 m² of unencumbered indoor space per child once furniture is in (regulation 107), and plan outdoor areas for at least 7 m² per child (regulation 108).
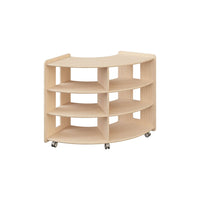
- Keep low furniture in the centre of rooms and tall storage on walls, so the design facilitates supervision (regulation 115).
- Plan nappy change facilities wherever children who wear nappies are educated (regulation 112).
- Make sure every room has natural light and ventilation (regulation 110).
For full room lists, use our childcare furniture checklist by room and babies room set-up guide.
What happens on delivery and installation days?
Installation days go smoothly when the building is fully ready and someone on site can make decisions. Our team delivers and sets up the furniture room by room, but a few things need to be in place first.
Installation Readiness Checklist
- Building works finished in the rooms being furnished, with flooring down and trades out.
- A builder's clean done, so furniture does not arrive into dust.
- Clear access: parking or loading space for the truck, and clear paths and doorways.
- Power and lighting working so the team can see and finish properly.
- A site contact who knows the layouts and can answer questions on the day.
- Printed or digital room layouts on site, with each room labelled.
- A plan for packaging removal and recycling.

What should you check before families and your regulator see the rooms?
Do a full safety and quality walk-through once rooms are set up, using the National Regulations and NQS Quality Area 3 as your guide. Your regulatory authority may want to see the premises as part of service approval, so have rooms ready early rather than on the last day.
- Safe, clean, in good repair (r.103): no sharp edges, loose fittings or damaged items; everything cleaned after installation.
- Sufficient, appropriate equipment (r.105): enough furniture and resources for the children booked in, at the right developmental level.
- Space (r.107, r.108): unencumbered space still meets the minimums with furniture in place.
- Light and ventilation (r.110): windows not blocked by tall furniture.
- Nappy change (r.112): facilities ready, supplies stored within educator reach.
- Supervision (r.115): educators can see every zone, the sleep room and nappy change area as designed.
- Tip-over and choking risks: tall items secured; small parts kept away from children under 3.
Our NQS Quality Area 3 guide has a full self-assessment checklist you can use before opening.
What causes fit-out delays, and how do you avoid them?
Most fit-out delays come from decisions, not deliveries. A clear owner for each decision and a fixed order date solve most of them.
| Common cause | How to avoid it |
|---|---|
| Floor plan changes after the order | Freeze room uses and sizes before confirming furniture |
| Slow sign-off by several people | Name one decision-maker and set a review deadline |
| Building handover slips | Agree a flexible delivery window with your supplier and keep in touch weekly |
| Shared spaces forgotten | Plan entry, sleep, staff and outdoor furniture in the same order |
| Resources ordered last | Order toys, books and art supplies with the furniture so shelves are ready to fill |
| Educators not consulted | Bring your educational leader into the 3D design review |
Plan Your New Centre
Send us your floor plan, your room ages and your key dates, and we will come back within 24 hours with a quote and a 3D design of your rooms. From confirmed order, we typically have rooms installed in 4 to 6 weeks, with delivery and set-up by our team. Centres we fit out also receive 25% off future orders through a centre account. Read more about new centre fit-outs, browse case studies, or request a quote.
Frequently Asked Questions
How do I open a childcare centre in Australia?
You need provider approval and service approval from the regulatory authority in your state or territory, premises that meet the Education and Care Services National Regulations, local council and building approvals, qualified staff, and families enrolled. Plan the building, the fit-out and staffing in parallel, and check current requirements with your regulator early, as processes and timeframes vary.
How long does a childcare centre fit-out take?
The furniture part of a fit-out typically takes 4 to 6 weeks from confirmed order to installed rooms with our team. Before that, allow time to send your floor plan, review 3D designs with educators and sign off. After installation, allow at least a week or two for resources, safety checks and staff orientation before opening.
When should I order furniture for a new childcare centre?
Work back from the date the building is ready for furniture. If furniture takes 4 to 6 weeks from confirmed order to installation, confirm your order at least 6 weeks before that date, and ideally two weeks earlier for a buffer. Aim to have rooms installed at least two weeks before opening day.
What do I need to send for a fit-out quote?
Send a dimensioned floor plan showing doors, windows, sinks and built-in joinery, plus the age group and number of children for each room. Include shared spaces, outdoor areas, your preferred look and your key dates. With a floor plan, we can return a quote and a 3D design of your rooms within 24 hours.
How much indoor and outdoor space does a childcare centre need?
The Education and Care Services National Regulations require at least 3.25 m² of unencumbered indoor space per child (regulation 107) and at least 7 m² of unencumbered outdoor space per child (regulation 108). Remember that furniture and storage reduce usable space, so check the numbers again once rooms are furnished.
Should furniture be installed before the regulator visits?
It is wise to have rooms set up before your regulatory authority sees the premises, as they may want to see how the service will operate. Furnished rooms make it easier to show safe layouts, supervision, nappy change facilities and suitable equipment. Confirm the process for your service approval with your state or territory regulator.
What are the most common mistakes when fitting out a new centre?
The most common mistakes are ordering too late, changing the floor plan after ordering, using one table height in mixed-age rooms, placing tall shelving in the middle of rooms, forgetting shared spaces and outdoor furniture, and ordering educational resources last. Name one decision-maker, involve your educational leader and set a firm order date.
Planning a room, or a whole centre?
Send us your floor plan. Within 24 hours you'll have an itemised quote, 2D room plans, a 3D showcase and a video walkthrough of your centre.
